 You will need the latest Gimp installed. Believe there is an installer for MS Windows.
Start your installed gimp and load the picture that needs improving. You should be able to click on the image to see a bigger view of the screenshots below.
Steps

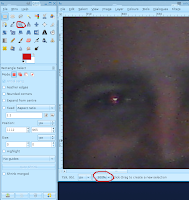
Zoom in on the problem area, you can use two ways. You can use the button from the tools dialogue or the pulldown menu which is located at the bottom of the image window.
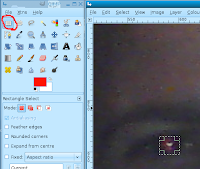
 Select the Rectangle selection tool and draw around the first eye.
 Now lets select the 2nd eye, by hold down shift key which will add a PLUS(+) symbol, then draw another selection over the 2nd area.
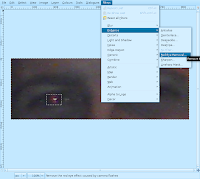
 On the image window, click on the "Filters->Enhance->Red Eye Removal..".
 NOTE: This part will require some trial and error.
Adjust the threshold value until the red eye has gone almost and then click ok.
If you not happy with the first attempt, you can use "Edit->Undo" to reset what you have done.
Don't forget to zoom out to really see the difference.
Then save when you happy :)
Result
This is what the picture looks like after removing your first pair of red eyes :) Yes. The guy in the middle is not of this Earth :P The technique explained above has been applied twice on both guys ^^. The red eye is not a horrific at least.

Hmm Think here is another way to do this in Gimp, which is even more manual. I wanted to see what GIMP's filter was like.

No comments:
Post a Comment